The number of AWS accounts that I’m currently using is growing quite fast, even for my own lab environment I’ve now exceeded 20 accounts!
I do use a good password manager – https://1password.com – but even so it’s becoming difficult to manage all of the accounts individually, so I thought I’d have a look at using Azure AD as an identity provider (IdP) with AWS SSO.
First of all I logged into the AWS Organization Master account and enabled AWS Single Sign-On:

Then navigate to the SSO service:
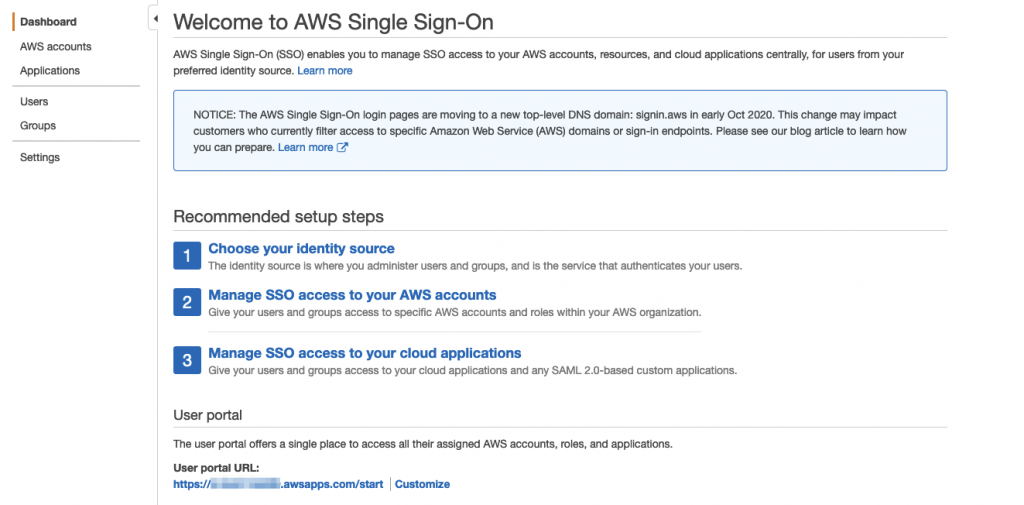
The first thing to do in the AWS SSO console is to choose the identity source, under the Settings option click on the ‘Change’ option next to ‘Identity Source’:

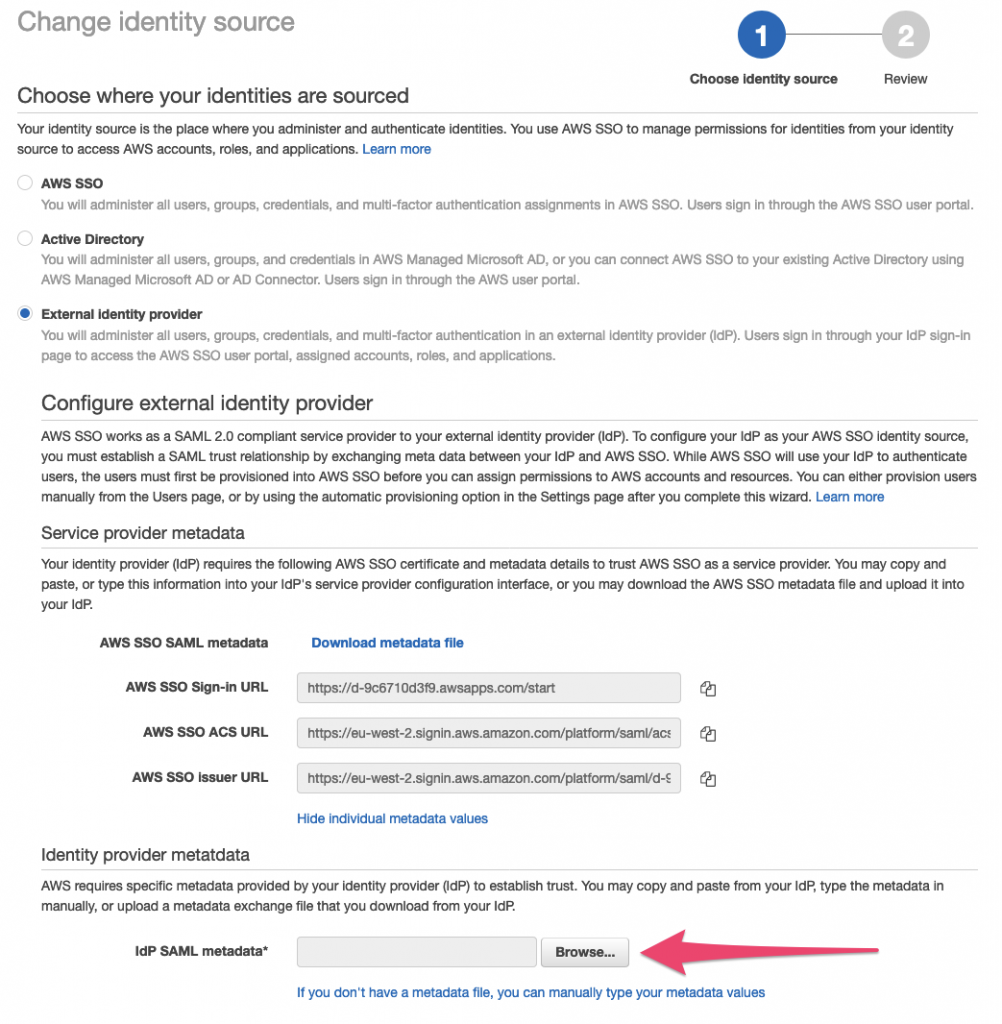
Next, select ‘External Identity Provider’ and then click ‘Download metadata file’.

Keep this window open because we’re going to need it again shortly, and now navigate in a new tab/window to the Azure Portal.
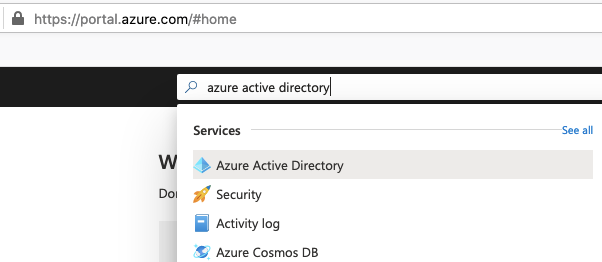
In the Azure portal, search for or navigate to ‘Azure Active Directory’:
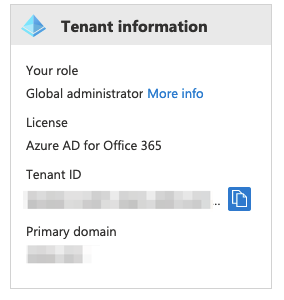
The Tenant I’m using for this has Azure AD for Office 365 licensed:
Next, navigate to ‘Enterprise Applications’ and select ‘+ New application’. Once the Azure AD Gallery has loaded, select ‘+ Create your own application’ – don’t be tempted to use the Amazon Web Services gallery offerings – they don’t currently leverage AWS SSO at the AWS side.
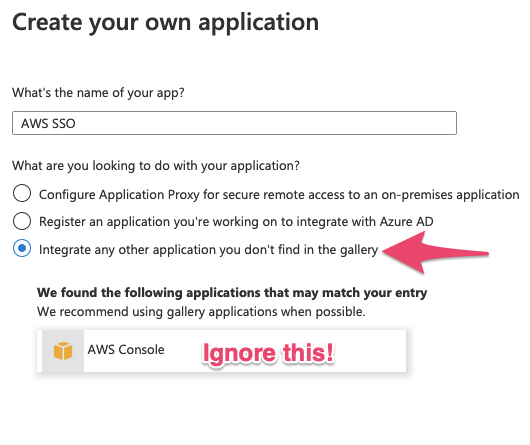
Then click ‘Create’
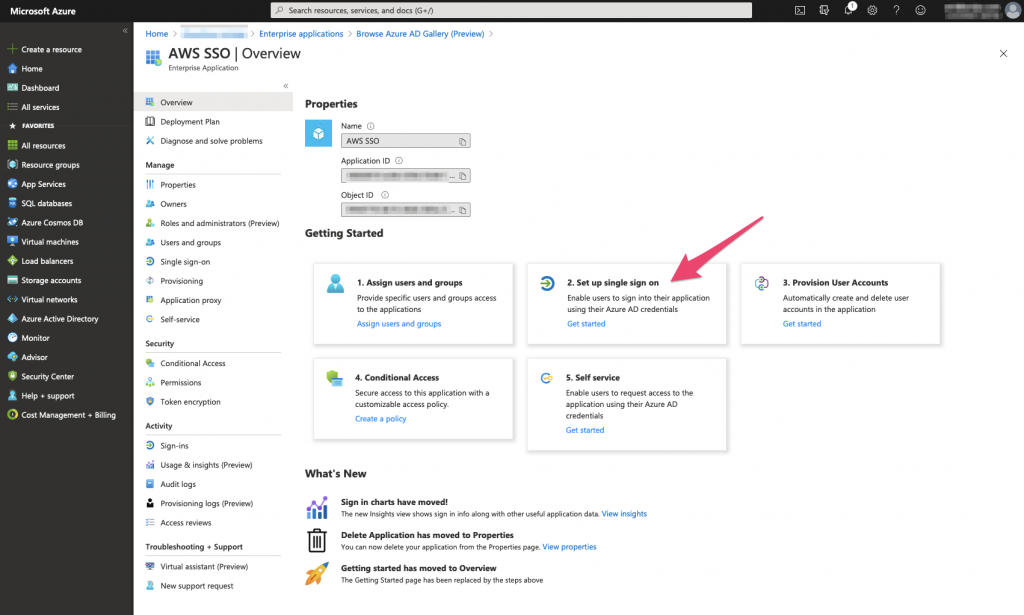
Still in the Azure AD console, select ‘Set up single sign on’
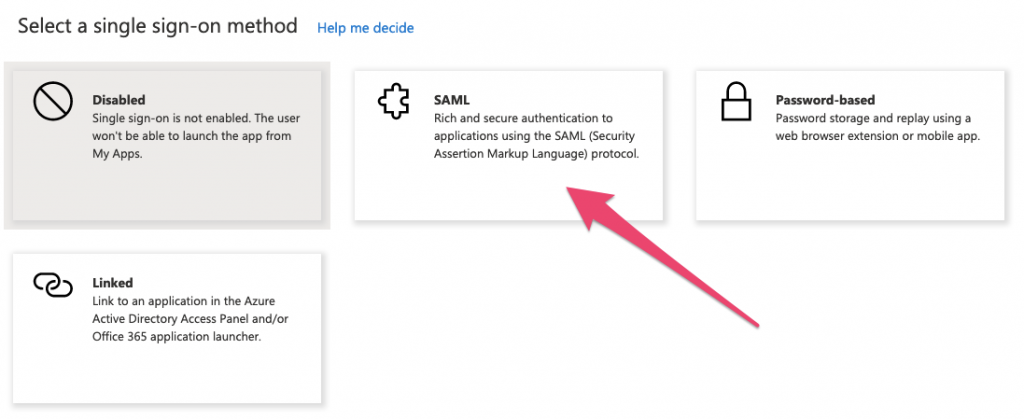
In the next set of options, select SAML:
Then select ‘Upload metadata file’

Select the file that you previously downloaded from the AWS console, and click ‘Add’, then ‘Save’.
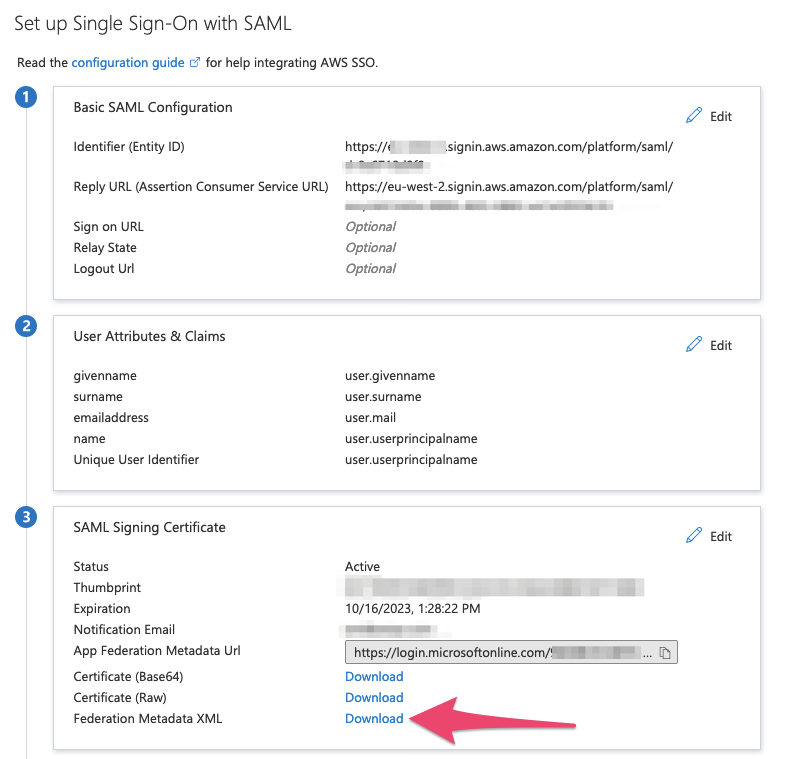
Click away from the ‘Single sign-on’ panel, and then click back into it – and now select Download against the Federation Metadata XML option:
Back in the AWS portal, select the file you’ve just downloaded for the IdP SAML metadata and upload it:
Review and confirm as required (you have to type ‘ACCEPT’) and click ‘Change Identity Source’.
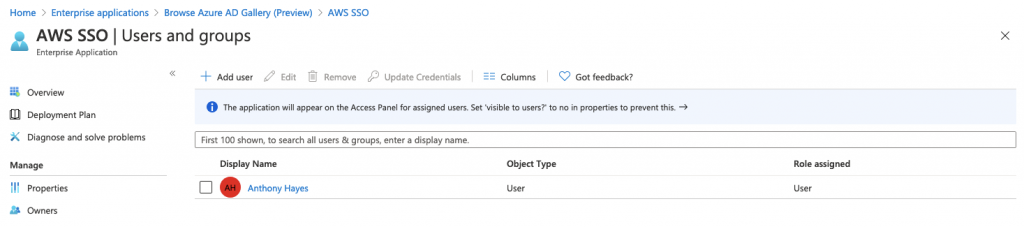
Back in the Azure portal, click on Users and Groups, and add your current user to the application:
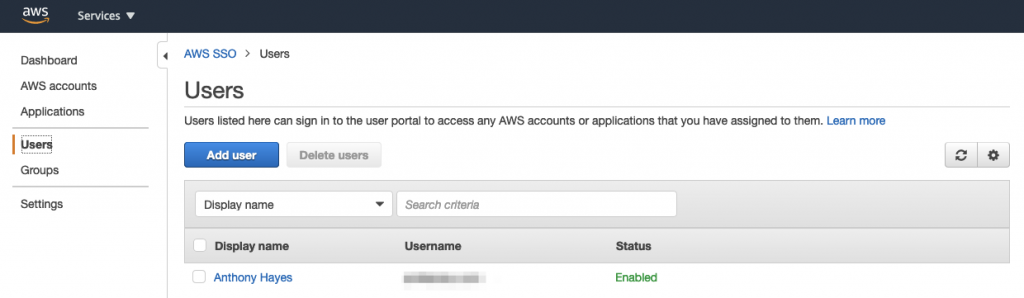
Over in the AWS SSO console add the user to the app (I’ll cover enabling automatic provisioning in a future blogpost)
and then assign that user to your AWS Accounts in the Organization:
The we need to create a Permission set, which defines the access that the user (or groups which makes more sense for a Production environment):
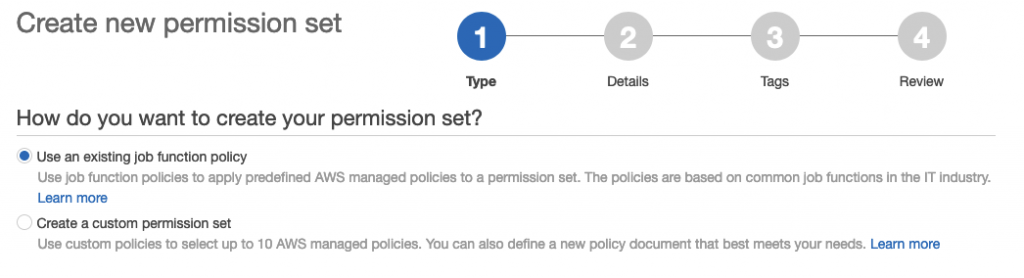
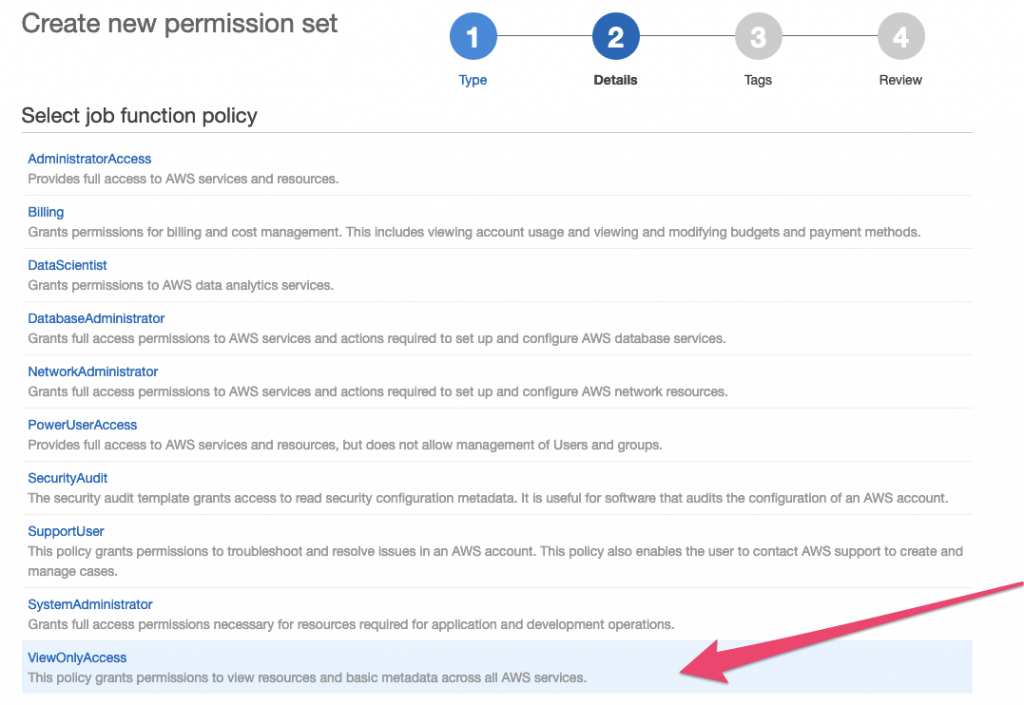
I’ll select Use an existing job function policy to enable a ‘Read Only’ user to the AWS Console:
Click through and select ‘Create’.
Now back at the ‘Assign Users’ page tick the permission set that you wish to be available to your user:
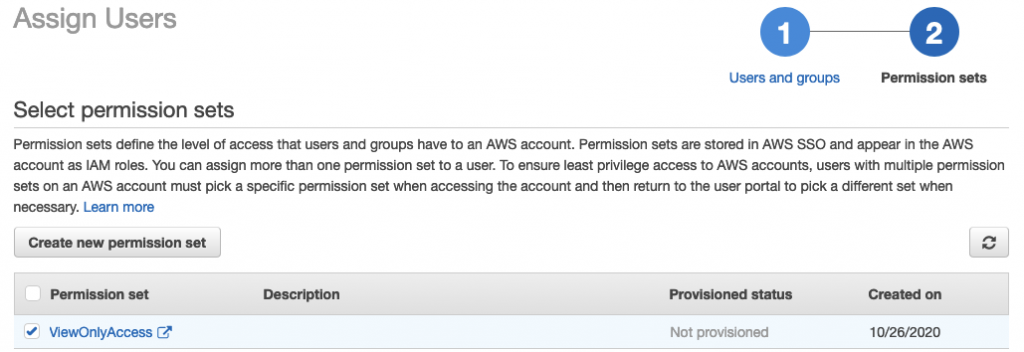
AWS SSO will then provision that access into the account and you’ll be returned to the AWS Accounts page of the SSO console.
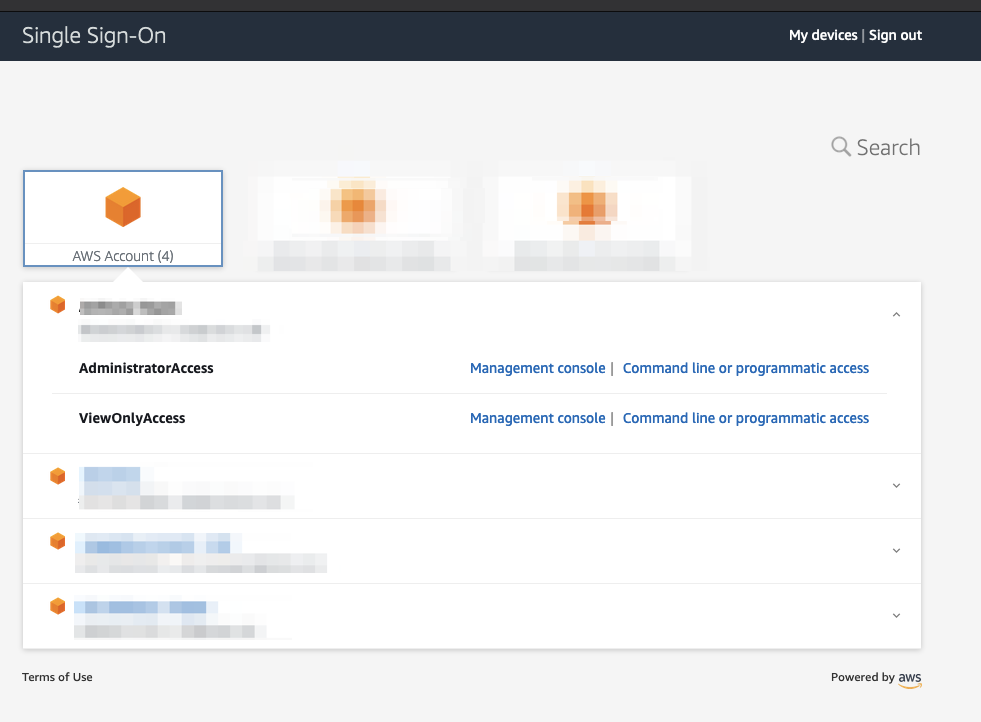
Now when your user logs into their My Apps portal at https://myapplications.microsoft.com/ they’ll see another option for AWS SSO:
which when clicked takes them into the AWS Single Sign-On console and shows the different Permission sets that are available to them in each account in the Organization:
In a future post I’ll cover provisioning users automatically and adding additional AWS accounts that are not in an Organization via IAM’s Identity Provider functionality and roles.