I’ve recently started using AWS SSO with my lab Master AWS Account with Azure AD as the IdP and it’s making my life a lot easier!
But .. I wanted to add some additional AWS accounts to it, but they’re not in my own Lab AWS Organization, they’re separate accounts.
I had a look into the functionality of AWS SSO and it’s actually pretty straightforward to integrate your AWS SSO into a different AWS Account.
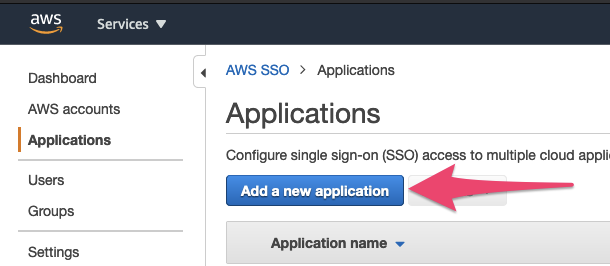
First, login to your AWS account that you’ve already configured with SSO from Azure AD (see my previous post about that), and navigate to SSO, then Applications and click ‘Add a new application’:
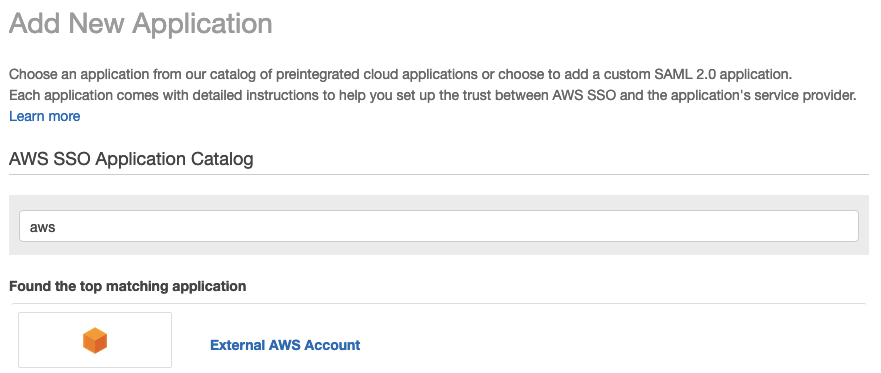
in the ‘Add New Application’ search box type aws, and then click on the ‘External AWS Account’ link, and click ‘Add Application’ at the bottom of the page:
On the next page there are several options to configure, the first being a Display name and a description:

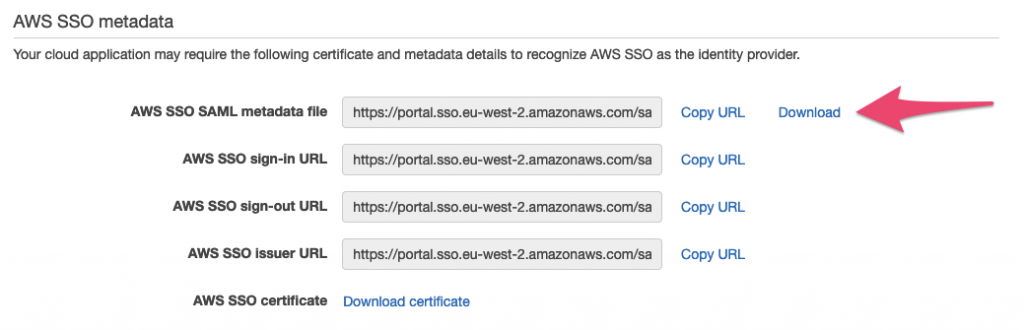
Just further down the page, click the ‘Download’ link to download the SAML metadata file:
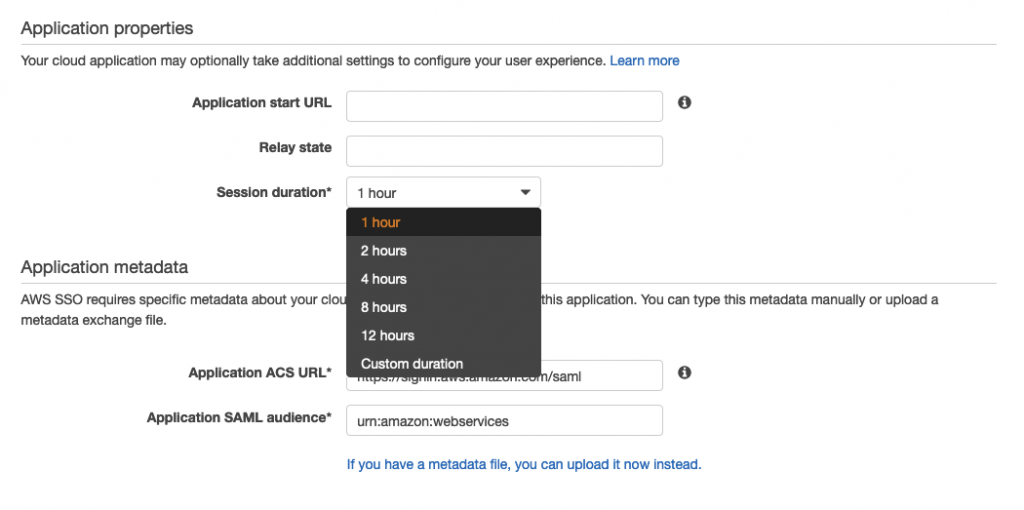
And a bit further down you can set some other options, such as Session duration, and then click ‘Save settings’.
Next, login as Root (no! don’t ever use the root account) or IAM user into the account that you want to use your SSO with.
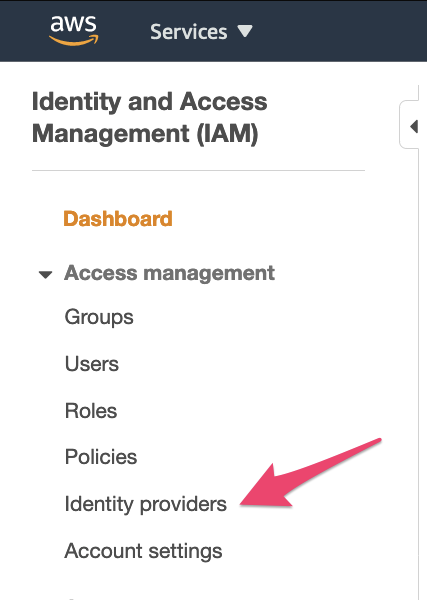
Under Services, select IAM or go to https://console.aws.amazon.com/iam and then click the ‘Identity Providers’ option:
Select ‘Create Provider’:

For provider type select SAML, give it a provider name and then select the Metadata document file that you downloaded earlier:
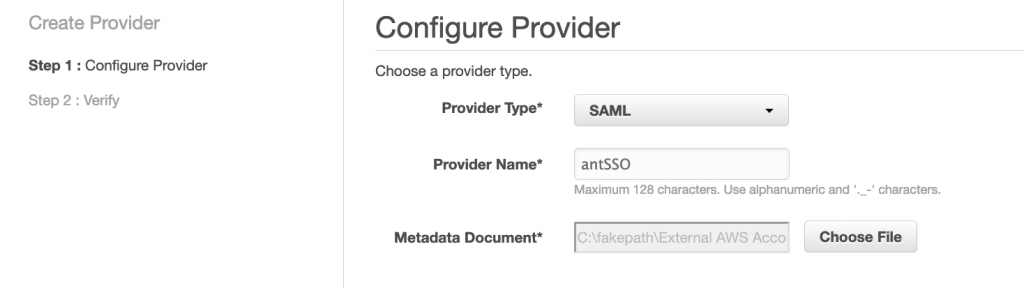
then click ‘Next Step’, and ‘Create’.
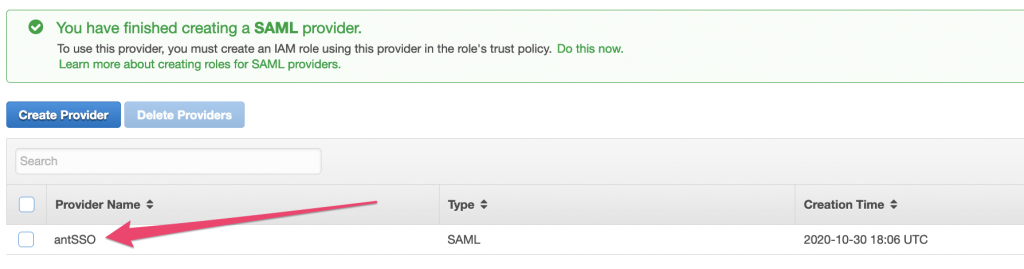
You will now see your SSO provider listed in the console, click on it and copy the ARN of the Provider to a text document – we’ll need that shortly.
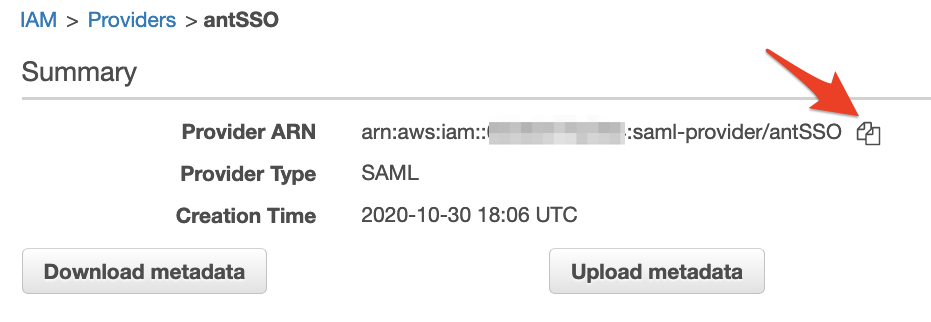
Clicking this icon in the AWS console should copy the details to your clipboard … it’s very handy!

Next we need to create a Role in the account to be assumed by the SSO user:
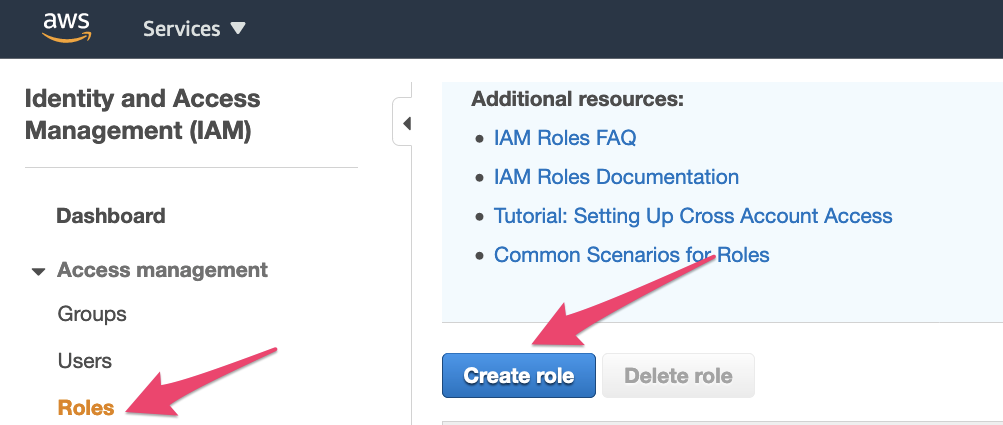
In the IAM options list select ‘Roles’ and then ‘Create Role’:
In the Create role page, select ‘SAML 2.0 federation’ and in the dropdown select your SAML provider created previoulsy:

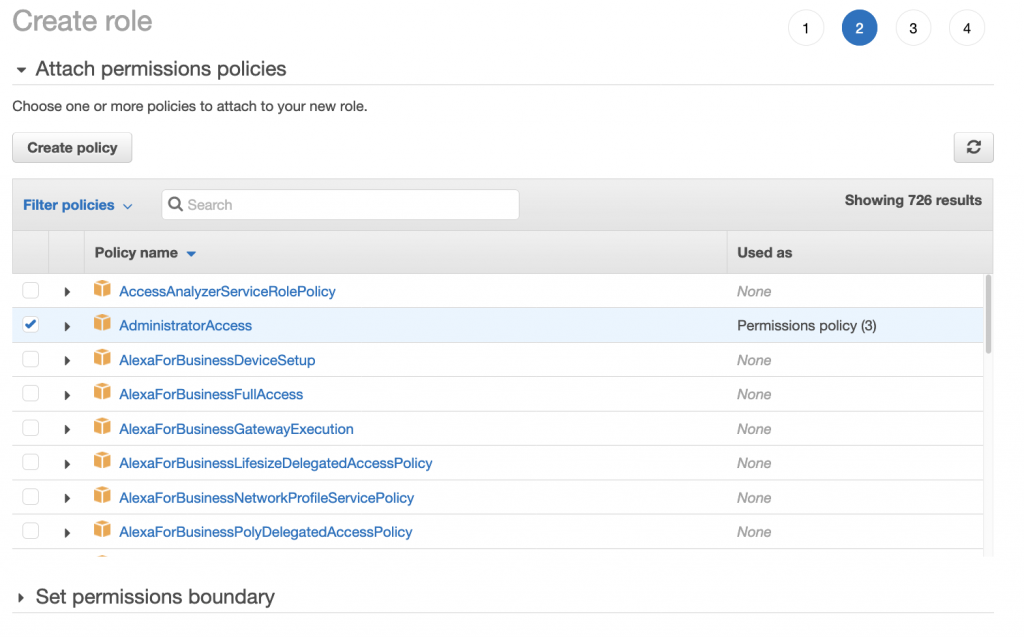
Select the Permissions Policy that you require next, I’m using the AWS Managed Policy for AdministratorAccess:
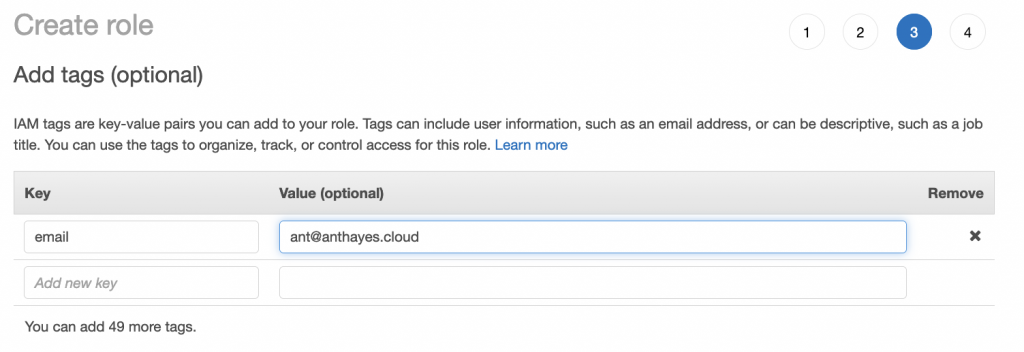
Next create any tags as per your tagging policy. It’s always a good idea to at least tag when you can with your name or email address in case there are queries in the future:
Finally give your name a role and click ‘Create Role’:
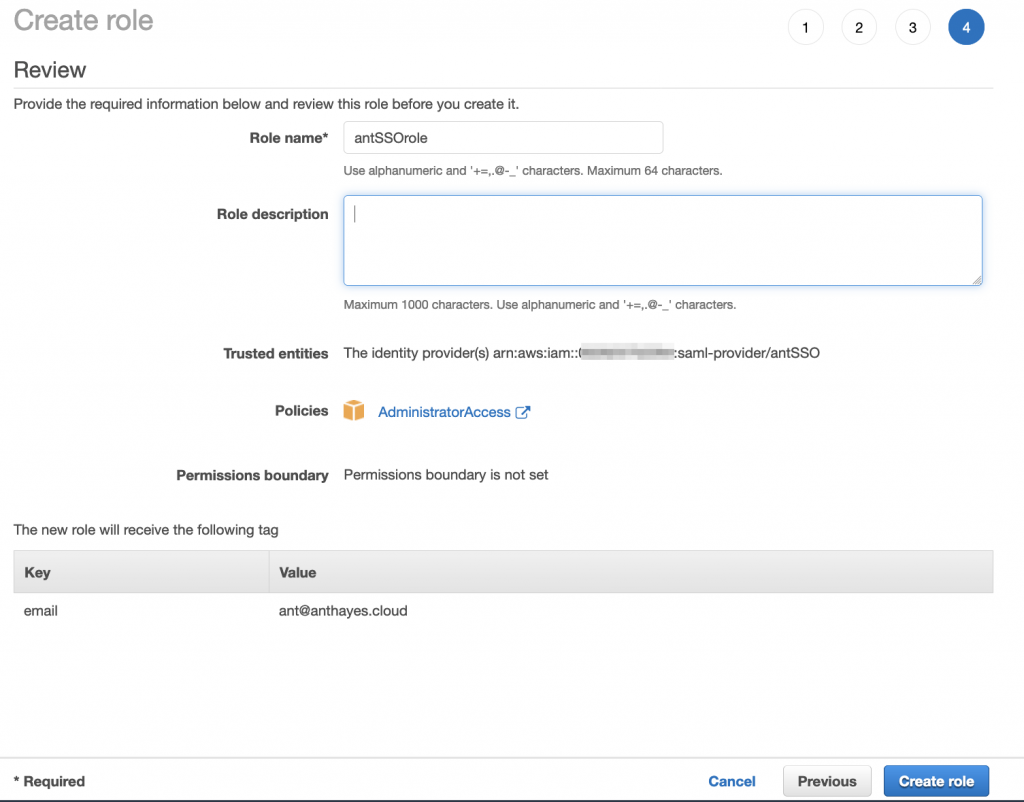
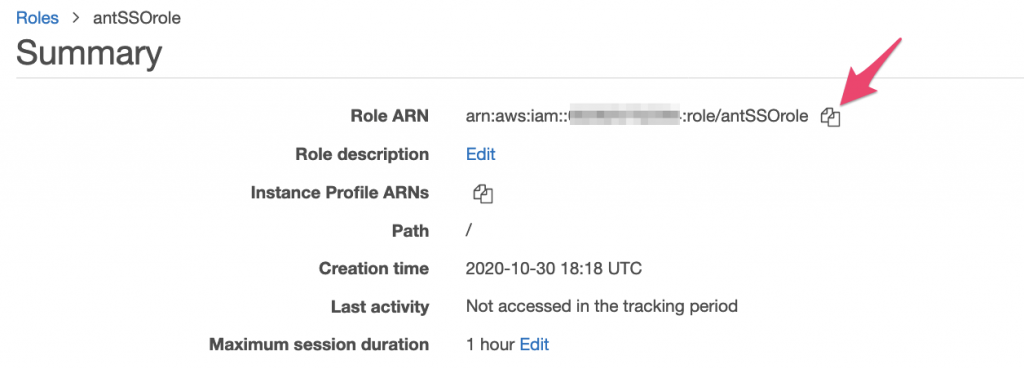
Now, click on the new role that you’ve just created and on the Summary page copy the Role ARN (Amazon Resource Number) – we’re going to need that too, so put it in the text document with the ARN for the SSO provider:
Now switch back to the account that’s got your SSO configuration in it, and select the configuration for your new External AWS Account. At the top of the page, select ‘Attribute mappings’ and then ‘Add new attribute mapping’:
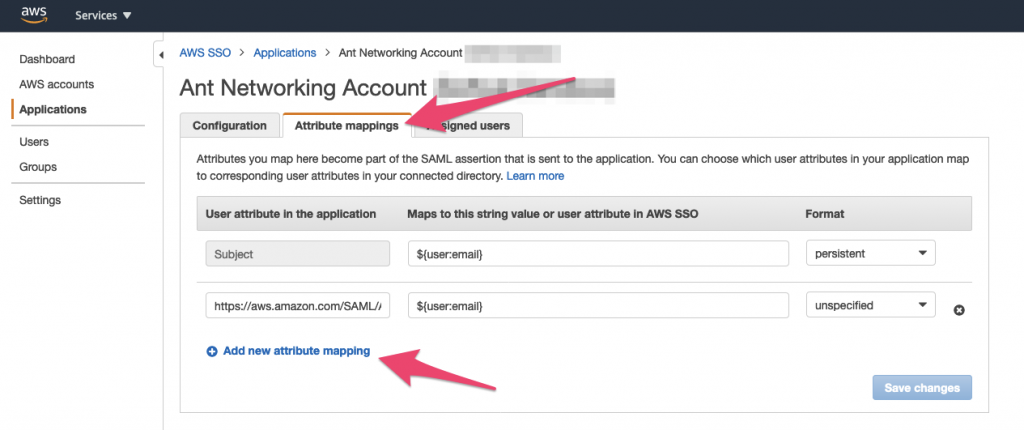
In the User attribute in the application type the following text:
https://aws.amazon.com/SAML/Attributes/Roleand in the “Maps to this string value or user attribute in AWS SSO” type the following: the ARN of the SSO provider you copied to your text document previously followed by a comma (,) and then the ARN of the Role you created for example:
arn:aws:iam::111111111111:saml-provider/yourSSOprovider,arn:aws:iam::111111111111:role/yourSSOrolenext click on ‘Save Changes’.
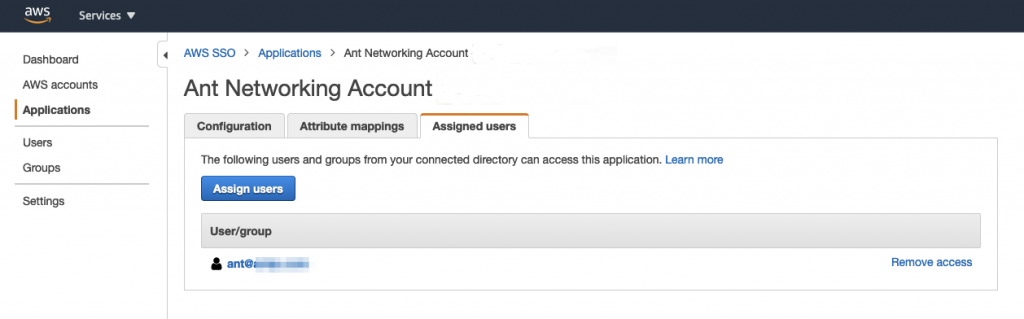
Finally you need to assign any users or groups to the new application:
When you next login via SSO, you’ll have a new option:
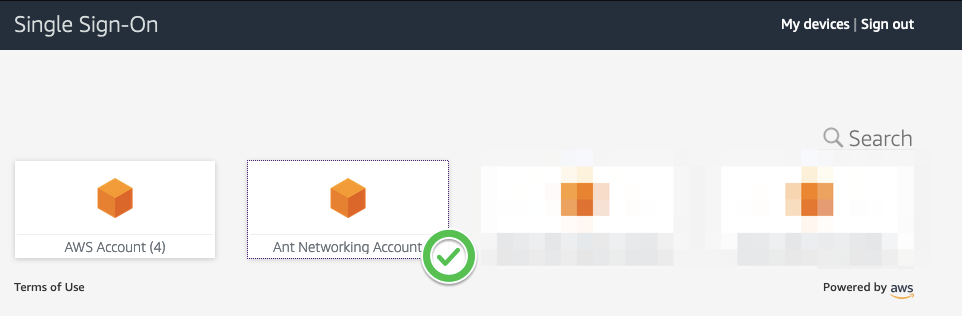
which when you click it will log you into the other AWS account assuming the Role that you’ve assigned!